Tasks
Creating a task
A task can be created a couple of ways:
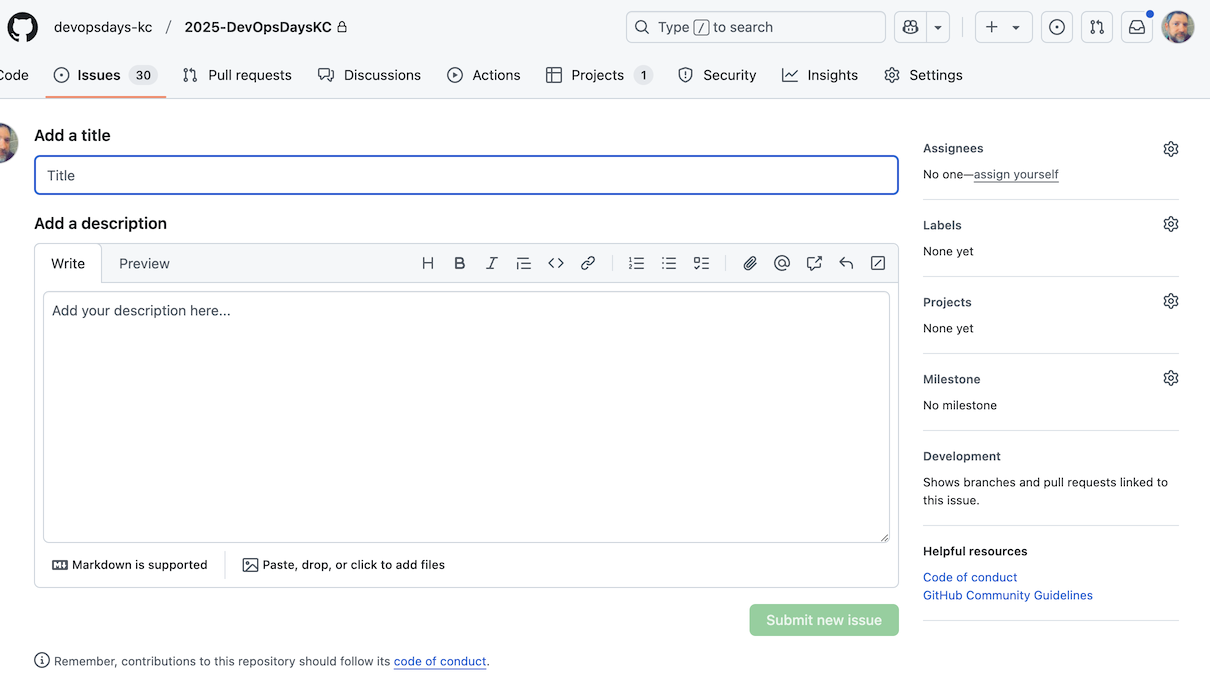
Go to the DevOpsDays KC 2025 repo and either click on Issues and select New issue...

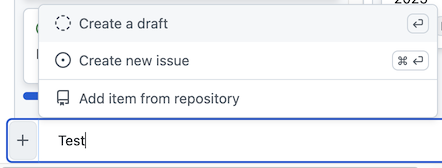
...or click on Projects and select Add item for the column you want to add the task to.

On the project board, "Status board" should be the default view. If you are not seeing the project board, click on the Projects tab at the top of the repo.
Hitting Enter will the task as a draft, for you to enter the details later, or choose Create new issue (or Command + Enter) to create the new task immediately.
One you have created the task, you will need to fill out the details.
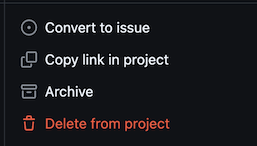
If you save the task as a draft, you will need to go into it and fill out the details, and then Convert to issue before it can be worked on

Recommended minimum fields:
- Title, i.e.
Send welcome email to speakers - Description, i.e.
Send the email to all accepted speakers welcoming them to the event and providing them with the next steps - Labels, i.e. classify the work to be done, if known, e.g. process. See Labeling tasks section for more information.
- Project, i.e.
DevOpsDays KC 2025- Status, i.e.
To do(Note: by default you should chooseTo doas the status, unless it is a Sponsor task, in which case you should choose Sponsors which helps us keep them visible and separate) - Team, i.e.
Sponsors(Note: this is the Squad that the task belongs to) - Priority, unless this is a High-Priority (P0), leave this blank and we can set it later
- Size, i.e.
S(Note: this is the size of the task in reference to t-shirt sizes, and should be set by the person who will be working on the task - if you are unsure, leave it blank and we can set it later)
- Status, i.e.
The rest of the fields can be entered later.
Subtasks
If you want to keep track of specific parts of the task, and it's small enough that you don't need to break it down into multiple, separate tasks, you can go ahead and use the checkbox markdown.
- [ ] Subtask 1
- [ ] Subtask 2
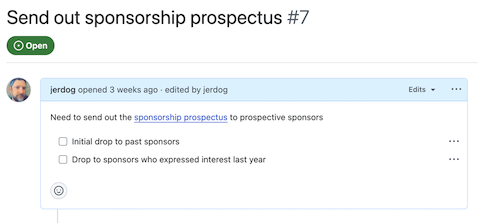
They will appear as a checkmark list once you save the Issue:

And when you view them in the Issue list, you will see that there are subtasks associated:

Labeling tasks
Labeling tasks helps to keep them organized and easy to find, and you can add multiple labels to a task. The following labels are available:
- sponsors - tasks related to sponsors
- speakers - tasks related to speakers
- at-risk - tasks that are at risk of not being completed on time
- blocked - tasks that are blocked and cannot be completed
- process - tasks related to process improvements
- question - tasks that need a question answered before work can be continued or completed
- ready-for-review - tasks ready to be reviewed by the Team, usually at a weekly meeting
- social-media - tasks related to social media
- volunteers - tasks related to volunteers
- website - tasks related to work being done on the website
- stale-issue - auto-assigned when a task has not been updated in >30d
Working with tasks
Beginning work on a task
Once a task has been created, it usually will begin with a status of Todo. Once work begins on that tasks, it will be moved to In Progress. The following fields should be updated once a task is in progress:
- Assignees
- Labels
- Projects:
- Team
- Priority
- Size
- Start date (when work began)
- End date (when work is expected to be completed)
The tasks should be regularly updated with progress, and if there are any blockers, those should be noted in the task, and then the task should have the blocked label added. If a task is blocked, it should be moved back to Todo and the blocker should be noted in the task.
You can mention other team members in the task by using the @ symbol and typing their GitHub username. This will notify them that they have been mentioned in the task.
Finalizing work on a task
When the task has finished